
Every Valor Mortis boss ranked by difficulty, from the opening fights to the late two-phase walls, with the attacks that set each place.
Valor Mortis Bosses Ranked: Hardest to Easiest
The hardest boss in Valor Mortis is the final fight, Entity, Voice of the Void, followed by Captain Raphael of the Nephtis Superioris. The Orphan and Sphinx, Devourer of the Unworthy sit just behind them, while Slaughtermill, The Iron Marshall and Experiment 83 are the softest encounters in the game.
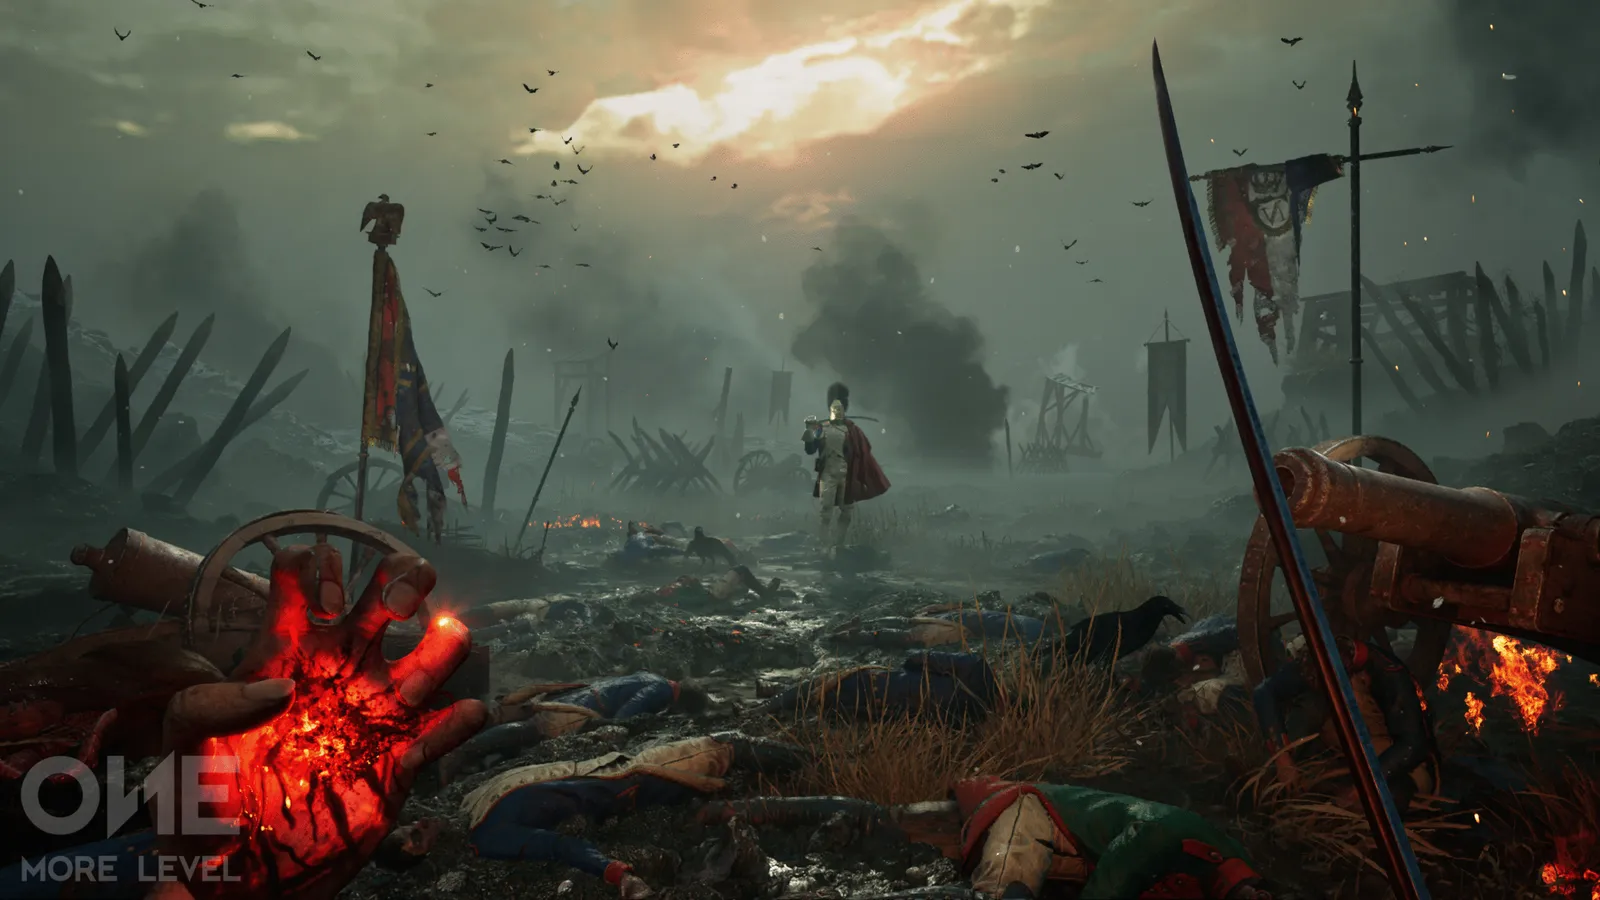
- Hardest: Entity, Voice of the Void, then Captain Raphael.
- Biggest spike for the gear you have: Sphinx, Devourer of the Unworthy.
- Most overrated: Experiment 83; easiest: Slaughtermill.
- The order below is an editorial call, not an official rating.
How These Rankings Are Judged
Valor Mortis launched with a single difficulty setting, and the director has said the only variant he would consider adding later is an easy and normal pair, so there is no slider to fall back on (IGN interview with director Radoslaw Ratusznik).
Five things decide each place on this list:
- Health bars. A second bar means beating the same boss twice in one attempt.
- Arena pressure. Poison vents and cramped rooms punish harder than open duels.
- Tool demand. Fights that need Stasis or the Shield Transmutation sit higher.
- Movement restriction. Bosses that dash away, heal or extend their reach remove your safest answer.
- Context. Lothaire is harder at the end of Chapter 1 with starter gear than his moveset alone deserves.
The ten fights below are the ten boss-defeat entries on the disclosed trophy list, which our trophy list page tracks. Locations come from launch-week coverage rather than an official map.
Official source: Valor Mortis on Steam describes the combat as parries, dashes and visceral finishers, and the official site pitches a demanding first-person soulslike with Metroidvania-inspired levels.
Every Boss Ranked in One Table
| Rank | Boss | Where you meet them | Why it lands here |
|---|---|---|---|
| 1 | Entity, Voice of the Void | Final fight, Caverns | Copies your kit, adds ranged pressure and summons earlier bosses at the same time |
| 2 | Captain Raphael of the Nephtis Superioris | University | Dashes, shoots and heals from a flask, then covers the arena in attacks below half health |
| 3 | The Orphan | University | Hard-hitting combos inside an arena that vents poison, so the room kills as often as the boss |
| 4 | Sphinx, Devourer of the Unworthy | Caverns, then the Pyramids | Two health bars and the fastest movement in the roster, with a phase-two weak spot on the face |
| 5 | High Justicar Aurelius, Last of the Faithful | The Outskirts | Never stops pressuring and grows a long-reaching arm in phase two, though his health is low |
| 6 | General Lothaire, the Eagle-Bearer | Valley of Ashes, then Abandoned Church | Two phases, back-mounted guns and a faster phase two, fought earliest with the weakest gear |
| 7 | Anna, the Bride Drowned in Tears | Cursed Hollow | Fast knife pressure plus summoned civilians, but squishy and easy to stagger |
| 8 | Experiment 83 | The Outskirts, lighthouse basement | A slow corridor gimmick with few telegraphed attacks; the tight space reads scarier than the fight |
| 9 | The Iron Marshall | Fallen Village | Telegraphed sweeps and a large back weak spot; any ranged setup trivializes him |
| 10 | Slaughtermill | Vale of Wrath | A prompt-driven set piece built on platforming rather than duel pressure |
By execution speed alone, Sphinx outranks The Orphan, since nothing else closes distance that fast. The table weighs in-context difficulty instead.
The Two Real Walls: Entity and Captain Raphael
Captain Raphael carries a blade and a pistol, dashes out of your attacks, blocks Transmutation damage and heals mid-fight. The heal is the whole fight: let it land and his health bar stops meaning anything. Stay close, punish the heal animation, and interrupt the flask with a grenade or a shot. Below half health he adds arena-wide attacks, the point where the Shield Transmutation earns its slot. A build that leans on ranged spacing gets exposed here, so check the weapons and Transmutations guide before the rematch.
The Entity runs the same humanoid duel and adds summons. It moves and shoots like Raphael, then fills the arena with echoes of bosses you have already beaten. Each summon dies to one hit, so clear the copy first and return to the boss. Trying to out-trade the Entity while a summon closes in is how most first attempts end.
Every summoned boss in the Entity fight dies in one hit. Spend those hits immediately, then re-engage; ignoring add pressure loses this fight more often than the boss does.
Sphinx and The Orphan: The Mid-Game Spikes
Sphinx, Devourer of the Unworthy is the fastest enemy in the game and the only one that wants you to freeze your target instead of out-spacing it. Stasis slows it, sometimes locks it in place, and buys the windows you attack through, so keep one charge for the second health bar rather than burning everything on the opener. Ammunition drops generously, and phase two adds a weak spot on the face.
The Orphan is hard in a different way. Its moveset is simple, but it hits hard, its combos are long, and the arena sprays poison gas. Bring the Shield Transmutation, keep fire damage ticking, and accept that you are dodging the room as much as the enemy. Cap punishes at two light attacks: the window is real, but short.
Long combos are the reason these fights feel unfair. A third greedy swing is usually the hit that ends the attempt.
Anna and Aurelius: Pressure Without Punishment
Anna, the Bride Drowned in Tears is fast with her butcher knife, but her real threat is the summon: when she retreats into the water, civilians close in around you. One grenade clears that crowd. Outside it she staggers quickly and folds to steady pressure, which is why she sits below Aurelius.
High Justicar Aurelius, Last of the Faithful is a pure duel. He stays in your face, and in phase two grows a bulbous arm that increases his reach. His health pool is small and most of his swings can be parried, so a clean parry into a critical attack shortens the fight. Dodge the arm, parry the rest; the parry and posture guide covers that loop.
General Lothaire, the Eagle-Bearer: Sixth on Purpose
Lothaire draws the most complaints and still misses the top five. He is the first real boss: two phases, guns on his back, lunging combos and a faster phase two, met at the end of the first area with starter gear. The demo version drew a wave of "too hard for a first boss" threads on Steam (community thread on the demo mini-boss and parry timings).
In isolation he is the most learnable boss in the game. Almost everything he throws is parryable, his ranged pattern is a fixed rhythm, and nothing in his kit removes your options the way Raphael's heal does. A hard first read with a fully readable moveset is exactly sixth place, and the General Lothaire fight guide breaks his phases down hit by hit.
The demo shipped an earlier version of the game, and the first post-launch patch already fixed fight-adjacent problems, including a post-boss save issue tied to the Chapter 4 fight.
The Soft End: Experiment 83, The Iron Marshall, Slaughtermill
The Iron Marshall hits hard but telegraphs everything. His weak spot sits on his back, which makes firearms and Fire Transmutation the easy answer; only his wide sweeps catch players who insist on standing in melee range.
Experiment 83 is a gimmick rather than a duel. The tight corridor stops you circling, but the boss is slow with a small set of readable attacks, so the space is the difficulty. Note the name: the trophy list spells it Experiment 83 while some launch coverage says Experiment 33; both names point at the same encounter.
Slaughtermill is the lowest-risk fight in the game, closer to a designed set piece than a soulslike duel. You follow prompts, shoot the marked weak spots, pull the glowing nodes and finish with a stretch of platforming.
Two closing notes. The order can flip for your build: a heavy fire setup finds the Orphan easier than a thin blade does. And patches are still landing, so a fight that felt overtuned on day one may already have been adjusted. When a wall costs you a session, leave, level and restock vials at a lantern, the loop the difficulty page and the beginner checklist both cover.
Official source: the Steam announcement Valor Mortis - First Update, posted on October 16, 2026, lists the post-boss save fix on Chapter 4 and a Chapter 12 progression blocker among its fixes.
FAQ
What is the hardest boss in Valor Mortis?
Entity, Voice of the Void, the final fight. It copies your moveset, adds ranged attacks and summons earlier bosses on top of the duel, and Captain Raphael is close behind because of his mid-fight heal.
How many bosses does Valor Mortis have?
Ten named boss fights, matching the ten boss-defeat entries on the disclosed trophy list and the ten encounters in launch coverage. A much larger hidden roster is not supported by either.
Can I summon help for a boss fight?
No. Steam lists Valor Mortis as a single-player game, so there is no co-op and no AI summon, and every boss has to be solved with your own build.
Is Captain Raphael harder than the final boss?
For many players he is the harder first wall, because healing and dashing punish passive play. This list still rates the Entity higher overall for its summon pressure.
Do I need a specific build to beat the late bosses?
No single build, but two tools carry fights. Stasis turns Sphinx from a scramble into a winnable fight, and the Shield Transmutation answers both the Orphan's poison arena and Raphael's arena-wide attacks.
Why does the game not have an easy mode?
The studio designed it around one shared experience; the director named easy and normal as the only pair he would consider adding later. Nothing has been announced since, so treat a difficulty menu as speculation.
Related Guides
- Valor Mortis Demo Bosses: General Lothaire Fight Guide — phase-by-phase punish windows for the boss ranked sixth here.
- Valor Mortis Combat: Parry, Posture and Lanterns — the defensive loop every fight on this list is built on.
- Valor Mortis Weapons and Builds: Blades, Guns, Transmutations — the tools that turn Raphael and the Entity into manageable fights.
- Is Valor Mortis Too Hard? Difficulty Options and Tips — why there is no slider and how to break a wall without one.
- Valor Mortis Trophy List: All 39 Trophies — the disclosed boss-defeat entries this ranking starts from.
- Valor Mortis Beginner Tips: 9 Things to Know First — lantern routing and vial discipline for the early walls.
More Valor Mortis Guides
Valor Mortis demo guide: Steam Next Fest download, what's inside, bosses, length and progress carry-over.
Valor Mortis developer One More Level (Ghostrunner), publisher, delay history and DLC plans.
Is Valor Mortis too hard? No difficulty options at launch, mini-boss tips and how to level past walls.
Valor Mortis FAQ: trial, Game Pass, difficulty, length, bosses and spelling answers in one page.
Valor Mortis is first-person only: how the camera changes parries, dodges and reading enemy tells, and why the studio chose that view.
The Valor Mortis awards run so far: the Golden Trailer Awards nomination for the reveal trailer, Gamescom 2026 showings and GOTY chances.
How long is Valor Mortis? About 20 hours per devs, demo length and what affects your playtime.
Is Valor Mortis on Game Pass day one? Yes: Oct 13 on Ultimate and PC Game Pass, cloud and console.