
How to beat the Sphinx in Valor Mortis and where to go afterwards, with the Salt Mines route, phase tips and the reward you pick up.
Valor Mortis Where to Go After Sphinx: Route, Fight and Next Steps
After the Sphinx dies at the end of Chapter 4, there is nowhere to walk: a cutscene returns William to the Abandoned Church, where a conversation with James opens Chapter 5 in the Vale of Wrath. Collect the 20,000 Catalysts and the Not a Cat Person trophy first, then push toward the Slaughtermill.
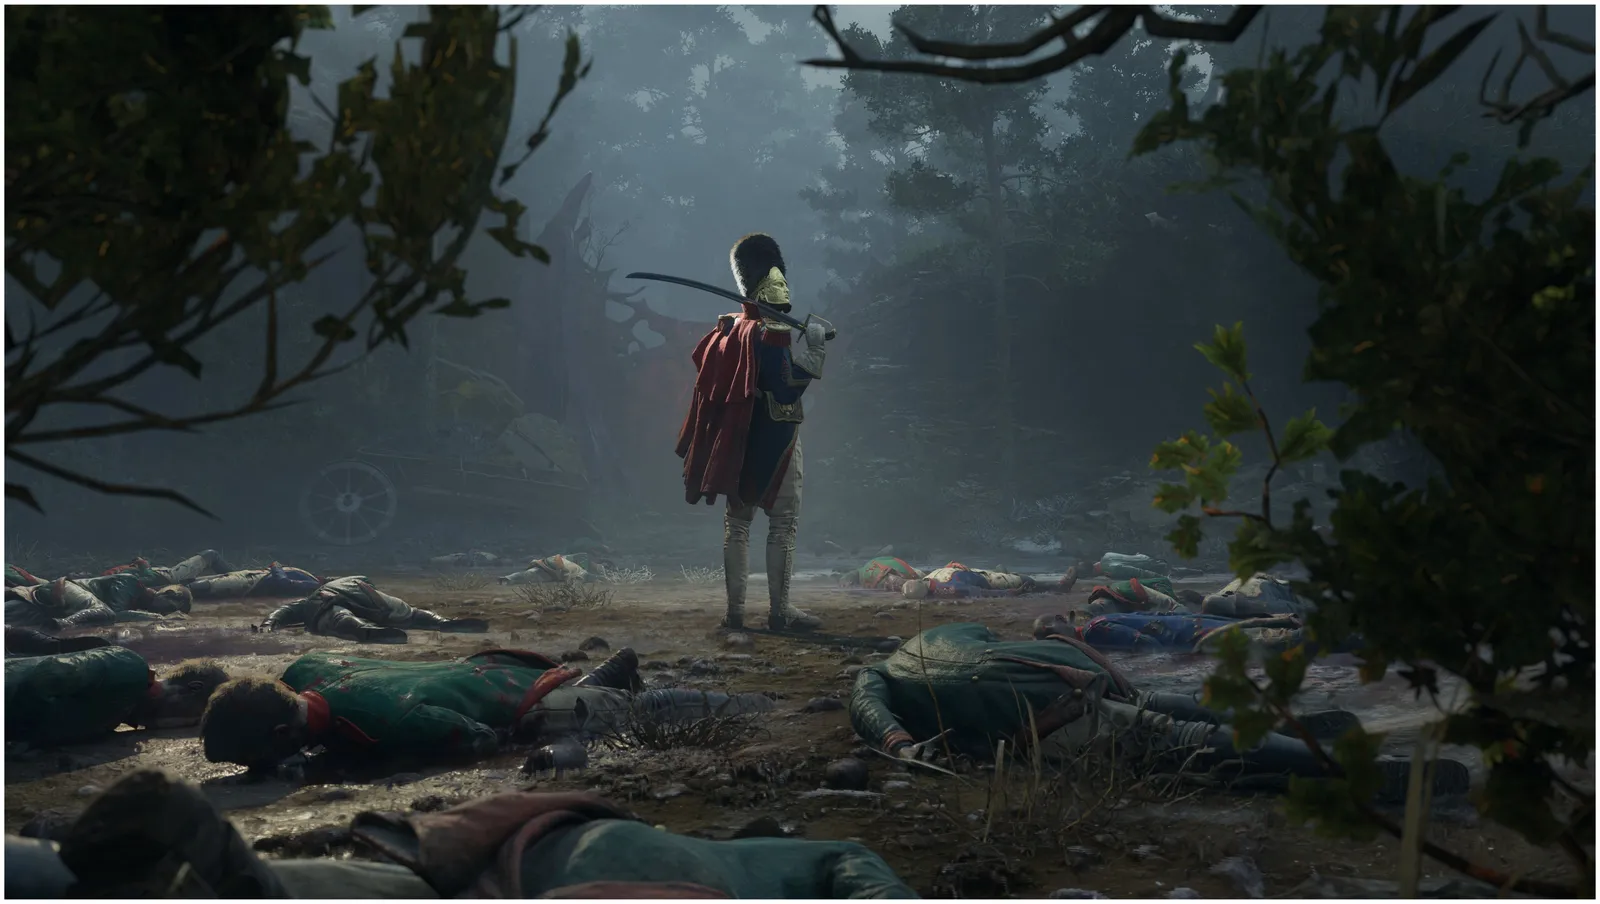
Three things worth knowing first:
- The Sphinx, Devourer of the Unworthy is the Chapter 4 boss, fought at the very end of the Caverns after the mine cart ride.
- The payout is 20,000 Catalysts and the Not a Cat Person trophy, which is story-related and cannot be missed.
- Chapter 5 is titled Crime and takes place in the Vale of Wrath, where the Slaughtermill is waiting.
What Happens Immediately After the Sphinx Fight
The boss dies, and control comes back only after a story sequence. There is no fog gate and no exit portal, so if you are standing in the sand arena wondering which direction leads onward, you are not missing a path.
The sequence runs like this:
- The Sphinx collapses and the rewards land in your inventory: 20,000 Catalysts plus the Not a Cat Person trophy.
- A cutscene teleports William to a strange sealed door with a red glowing orifice at its centre.
- He reaches inside, something resists, and he is blasted backwards.
- He wakes in the Abandoned Church with Louis standing over him, and after a short talk you are told to go and speak with James.
That last prompt is the real answer. The Abandoned Church is the chapter hub, and James hands over the key item for the next leg of the game, as he did with the Cave Grotto Key that opened Chapter 4.
| After the boss | What to do |
|---|---|
| Reward | 20,000 Catalysts, banked automatically |
| Trophy | Not a Cat Person, awarded for defeating the Sphinx |
| Location change | Teleported back to the Abandoned Church |
| Next objective | Speak with James |
| Chapter state | Chapter 4 closed, Chapter 5 open |
Where to Go Next: Chapter 5, Crime, and the Vale of Wrath
Talk to James and the next chapter loads. Chapter 5 is named Crime, it takes place in the Vale of Wrath, and it is a full region rather than a corridor, with lanterns, chests, letters and side quests. Treat the Abandoned Church stop as your last free break, because the Vale does not offer the same easy returns.
Spend the 20,000 Catalysts before you leave: lanterns are where skill points are bought, and this is one of the largest single injections in the run. The parry and posture primer explains which nodes pay off in boss fights, and weapons and builds covers what each weapon tree buys.
The next boss is the Slaughtermill in the Vale of Wrath. It is a very different fight: instead of a fast claw duel you are shooting bulbous weak spots, pulling Nephtoglobin nodes and grappling onto structures, with the second half moving underground and adding tentacles and summoned Carrion.
| Point in the run | Location | What happens |
|---|---|---|
| Chapter 4 finale | Caverns, salt mine depths | Sphinx fight, 20,000 Catalysts |
| Immediately after | Abandoned Church | Cutscene, Louis, prompt to see James |
| Chapter 5 start | Abandoned Church | James gives the next objective |
| Chapter 5 region | Vale of Wrath | Side quests, chests, letters, lanterns |
| Chapter 5 boss | Vale of Wrath | Slaughtermill |
The Salt Mines Route That Leads to the Sphinx
If you are reading this before the fight, here is the path there. Chapter 4 hands you the Cave Grotto Key from James, then funnels you through the Caverns and down into the salt mine, where the Sphinx closes the chapter.
| Landmark | What matters there |
|---|---|
| Caverns entry | Use the key on the red door, then take the vortex teleport inside |
| First lantern (Last Sunlight) | The Homesick side quest triggers automatically in the cave beyond |
| Weeping Ledge | Second lantern; light the torches with the Fire Transmutation to mark your route |
| Old Mine | Lucjan speaks about the caves and the salt mine within; the Eternal Guardsman drops the Mysterious Stone Pyramid and triggers Oathbound; the Stasis Transmutation comes from a corpse here |
| Mine cart route | One-way ride; Stasis on gear wheels, Nephtoglobin Blossoms to switch tracks, and pistol shots at a weak spot to clear corruption |
| Ancient Lair Lantern | Last rest point; walk into the mist clearing beyond it |
| Sphinx lair | A cutscene teleports you to a sand arena for the fight |
Two notes. Stasis is not optional flavour here: the cart section asks you to freeze gears on the move, so read the Amber equip guide before spending what the mine gave you. Homesick is the one piece of Caverns content that hands itself to you.
Official source: the Valor Mortis store page on Steam lists the game as a first-person action soulslike from the creators of Ghostrunner, and the official Valor Mortis site describes the same Metroidvania-inspired level structure that the Caverns and salt mine follow.
Sphinx Phase One: Tells and Punish Windows
Phase one is a claw duel built on one readable tell. Most attacks can be parried, and the claw glows purple right before a swipe lands, so the parry cue is the colour change, not the movement. Parrying four or five times fills the posture meter under the health bar, and a full meter lets you stab the circular prompt at its head for roughly a sixth of its bar.
| Attack | Tell | Answer |
|---|---|---|
| Single or triple claw slash | Claw glows purple | Parry on the glow |
| Extended slash into tail spin | Body ends up turned away after a swipe | Dodge out, do not chase the parry |
| Three ground spikes | Dashes back, slams paws down, spikes travel together | Step left or right; they do not home |
| Orb from raised tail | Hunches with tail up, no red glow | Shoot the orb, or jump the shockwave |
| Long leap | Retreats, hunches, glows red | Unblockable; dodge and punish the flank |
| Three advancing paw slams | Rapid slams that close distance | Dodge all three, then punish while it is winded |
The mistake most players make is treating the crouch as one move. There are two: a red-glow crouch that becomes an unblockable leap, and a no-glow crouch that summons the orb. Parry the leap and you eat the hit; dodge the orb and you waste the chance to shoot it out of the air.
The claw glint and the body glow are different colours on purpose. Purple precedes a parriable slash; red precedes an unblockable attack that has to be dodged. React to the colour, not to the animation.
Phase Two and the Face Weak Spot
When the first bar empties the fight is not over. The Sphinx fires a beam from its face while the bar refills, and the second phase begins with new attacks and a new vulnerability: the mask breaks off, exposing a cluster of weak points in its face.
What changes:
- Transition: it spouts purple poison from its mouth, so back off until the beam and the spit finish.
- A moving wall of purple tentacles sweeps the arena; safe to pass through, not to stand in.
- The spike attack returns as a semicircle of dozens of spikes that split as they travel, so move into one of the gaps.
- New tail options include a backflip that whips the tail vertically, and a low stabbing tail barb with short reach.
- A body slam that rears up and crashes down onto its side is unblockable, but dodging leaves it on the floor for a long punish.
The efficient route is firearms. Once the mask is gone, a blunderbuss shot into the exposed face takes roughly a fifth of the remaining bar, and pistol shots into the same spot work too, with ammo dropped generously during the fight. Eurogamer's boss rundown points at the same approach: keep distance, lean on firearms and Stasis, and target the face. Polygon's Sphinx fight breakdown has the parry posture math, and IGN's Sphinx page lists every attack with screenshots.
The blunderbuss is only truly required in phase two. Spend it all chipping phase one and the easiest half of the fight gets much longer.
Loadout and Prep: Level 20 and Up
You can win underlevelled, but the fight is tuned around a character who spends Catalysts rather than hoarding them. By the time you reach the Sphinx you are usually around level 20 or higher, and the trophy list page is a good reminder of what else the Caverns chapter asked you to collect.
| Area | Picks for this fight |
|---|---|
| Defensive skills | Maximum Endurance, Blocking and Parrying Impact, Melee Endurance Cost |
| Resource skills | Nephtoglobin Extraction, Ferrofluid Flask Refill |
| Damage skills | Melee Damage for phase one, anything firearm-related for phase two |
| Ambers | Duellist's Focus (wider parry window), Bottomless Well (passive Nephtoglobin), Dominatus II (health on criticals), Bountiful Harvest (health from orbs), Potent Concoction (flask value) |
| Melee | Sabre over rapier; the fight rewards parry timing more than reach |
| Firearm | Blunderbuss, saved for the phase two face weak spot |
| Transmutation | Fire, or the Stasis you picked up in Old Mine to slow the boss and open attack windows |
No special consumable is mandatory. Whetstones and grenades are welcome, but the fight is decided by whether you parry the purple and dodge the red. The payout is also the whole payout: no new weapon, no key item and no fast travel point, so read the difficulty options and tips before you spend it.
FAQ
Where do I go after beating the Sphinx? Nowhere by walking. The cutscene puts you back in the Abandoned Church; talk to James there and Chapter 5 begins in the Vale of Wrath. Your next boss is the Slaughtermill.
What do I get for killing the Sphinx? 20,000 Catalysts and the Not a Cat Person trophy. No weapon, no key item, no new ability.
Can I skip the Sphinx and come back later? No. It is the Chapter 4 boss, and the story does not move past it until it dies, so there is no route around the fight.
What is the easiest way to beat the Sphinx? Parry the purple claw swipes to fill its posture meter, then save the blunderbuss for phase two, where the exposed face weak spot takes about a fifth of the bar per shot. Ordinary pistol shots into the same spot work too, and the fight drops plenty of ammo.
Related Guides
- Valor Mortis Combat: Parry, Posture and Lanterns - the parry timing and posture logic that phase one of this fight tests.
- General Lothaire Fight Guide - the earlier boss, and the cleanest place to learn a claw-combo rhythm before the Sphinx.
- Weapons and Builds: Blades, Guns, Transmutations - how to set up a blunderbuss and sabre for the two phases.
- How to Equip Ambers - where to slot Duellist's Focus and the other picks above.
- Valor Mortis Trophy List - Not a Cat Person sits in the full 39-trophy list with the other boss entries.
- Is Valor Mortis Too Hard? - what to do when a boss like this one stalls your run.
More Valor Mortis Guides
Is Valor Mortis crossplay? No, it is single-player only, so there is no co-op, PvP or cross-save between PS5, Xbox and PC.
Valor Mortis demo bosses: General Lothaire the Eagle-Bearer fight guide with phases and punish windows.
Valor Mortis demo guide: Steam Next Fest download, what's inside, bosses, length and progress carry-over.
Valor Mortis developer One More Level (Ghostrunner), publisher, delay history and DLC plans.
Is Valor Mortis too hard? No difficulty options at launch, mini-boss tips and how to level past walls.
Valor Mortis FAQ: trial, Game Pass, difficulty, length, bosses and spelling answers in one page.
Valor Mortis is first-person only: how the camera changes parries, dodges and reading enemy tells, and why the studio chose that view.
The Valor Mortis awards run so far: the Golden Trailer Awards nomination for the reveal trailer, Gamescom 2026 showings and GOTY chances.